GitKraken
Git
Remembering all the git commands and what state all your files are in can sometimes be complex. For this reason, people create Graphical User Interfaces (GUIs) for git, one of the most popular being GitKraken.
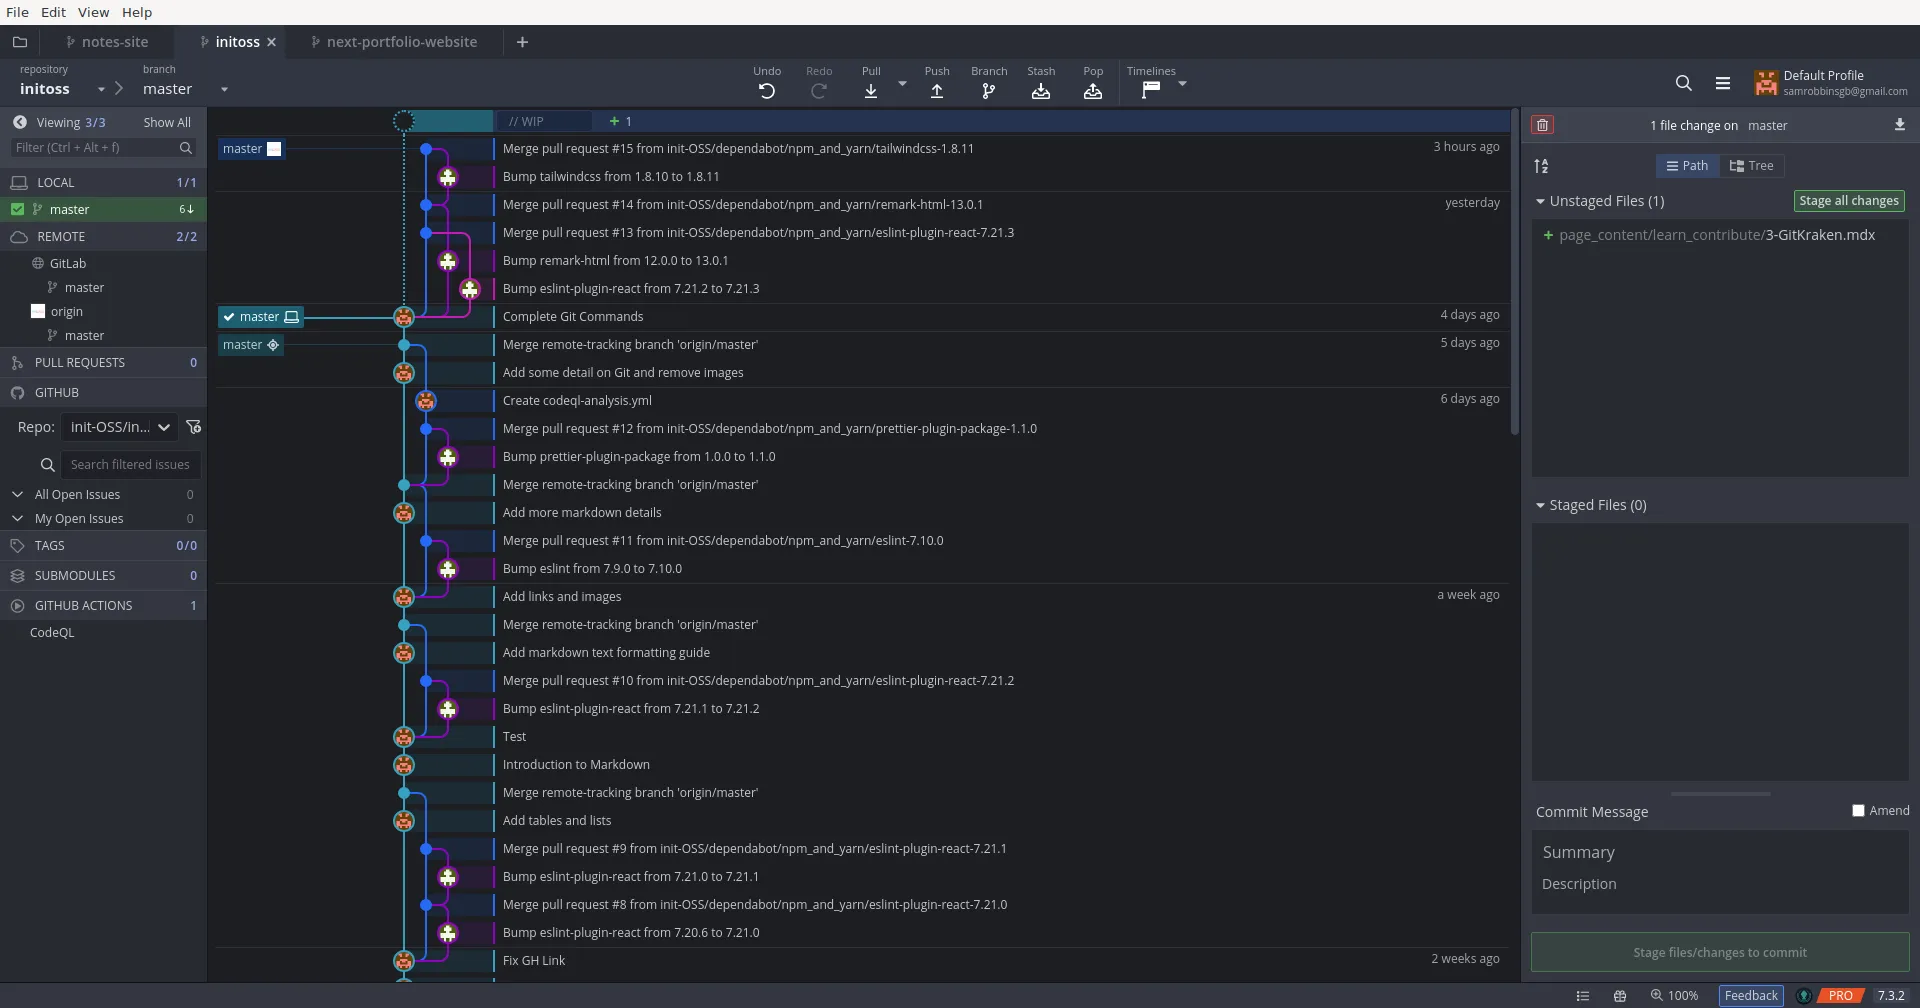
An example view is this, showing the repository for this website:

This looks complicated, so we’ll walk through each section
Top bar

Many of the commands here are just replicas of git commands, so Pull is
git pull etc. As discussed before, git push needs to be accompanied by the
branch and remote, so GitKraken lets you set up defaults.
If you’ve cloned a repo, then the branches will push to their counterparts on
the remote, so main will push to main etc. When you create a branch, the
first time you push the branch, it will ask you which branch you want to push it
to, with the default being one with the same name.
Branch allows you to create a new git branch, and prompts you for the name. Stash and pop are for more advanced git concepts called stashes.
Timelines is a GitKraken exclusive feature and isn’t git related.
Another benefit here is the Undo and Redo buttons, these will try their best to undo and redo changes you’ve made if it’s possible, so might save you from some mistakes.
Right sidebar

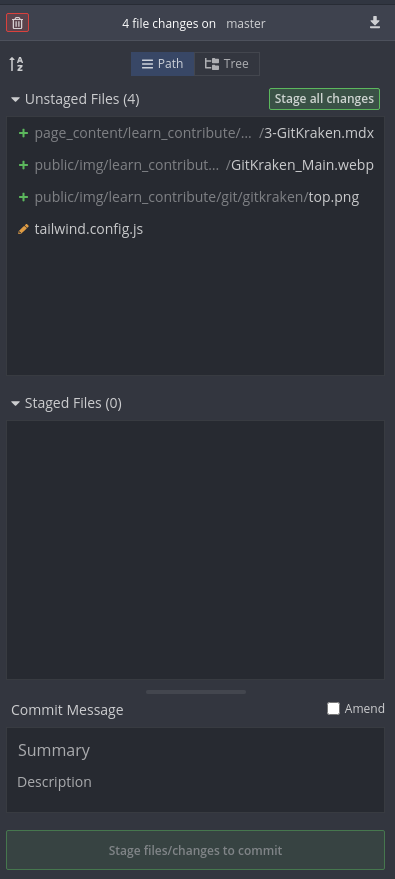
This allows you to see your changed files, here you can see I’m working on this document about GitKraken. Those with the plus symbol are new files and ones with a pencil are edited files. You can easily stage all of these files with the Stage all changes button, or you can stage each individually. You also have the section at the bottom to add a commit message, then the button at the bottom can be used to commit the changes.
Left sidebar

In general, you will use this sidebar much less than the right sidebar, but it is useful for some configuration.
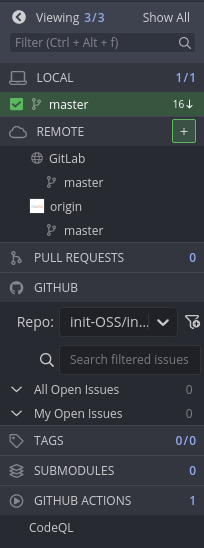
At the top under LOCAL, you can change between local branches, the
equivalent of git switch.
REMOTE lets you manage your remotes, here you can see I have this repo on both GitHub and GitLab.
The next two sections are for Git hosting providers, showing both pull requests and issues.
Git tags let you show versions of your code, and you will often see these being used in larger repositories.
Git submodules let you embed a repository inside another, as a beginner you won’t often see this.
GitHub actions let you run scripts after you commit, here you can see I am using one called CodeQL which checks code for security vulnerabilities.
Middle

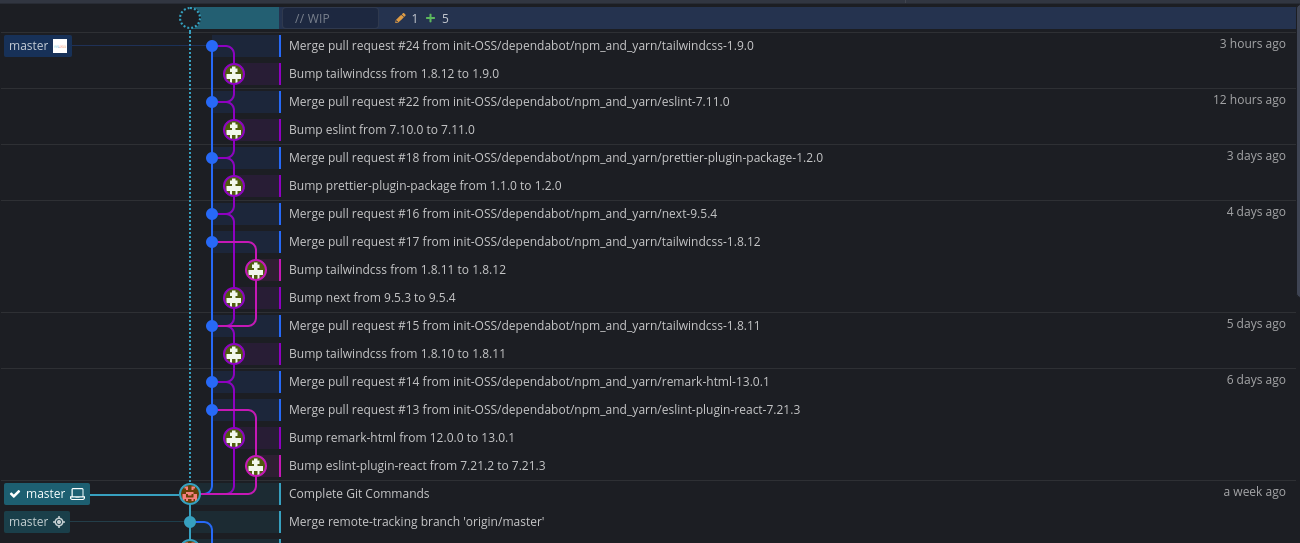
You can see all your past commits in the middle section. Here you can see the merging of many dependency updates with Bump followed by Merge
At the very top you can see //WIP, this is to show that I have uncommitted
changes.
Down the left-hand side you can see branches, both local and remote. Hovering over them shows their name, and the one with the laptop symbol signifies it is a local branch.
This allows you to see where each branch is in your code, and how the remote compares with local. This is useful as you can see if other people have made changes to the code since you last pulled it and what changes the different branches have.